3D step-by-step tutorials
Check every crease from the side, top, and front before moving on, so wing angles and nose alignment are easy to copy.
Step-by-step · Fold and fly
58 classic paper airplanes with 3D step-by-step folds, flight estimates, and a test-flight preview.
From classic starter designs to distance, time-aloft, and acrobatic planes. Open a card for the full folding guide.
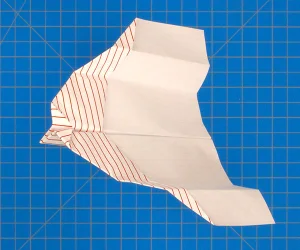
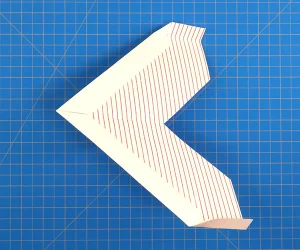
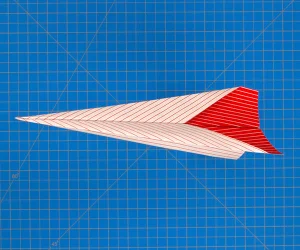
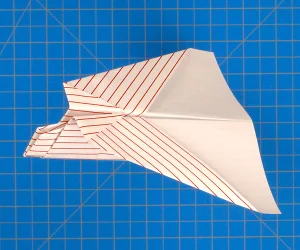
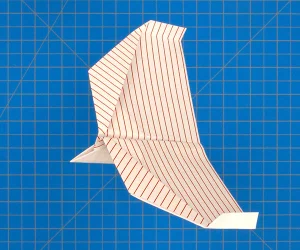
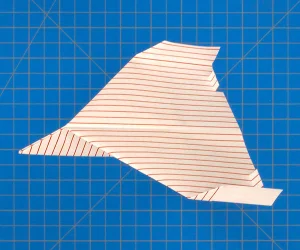
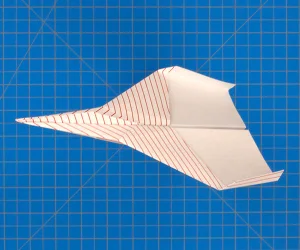
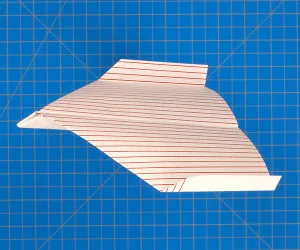
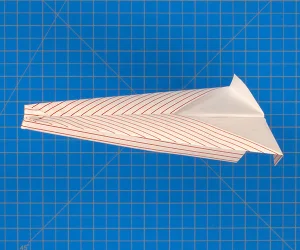
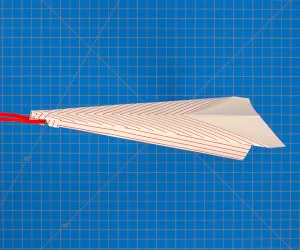
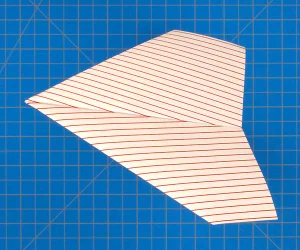
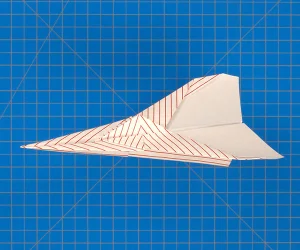
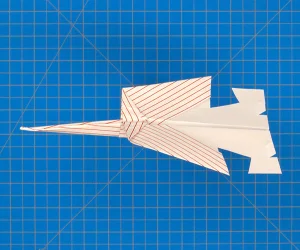
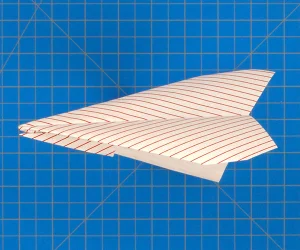
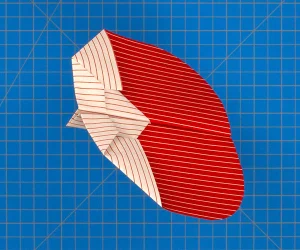
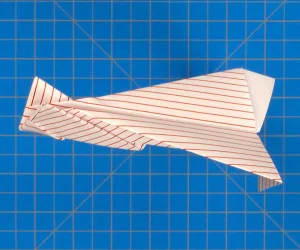
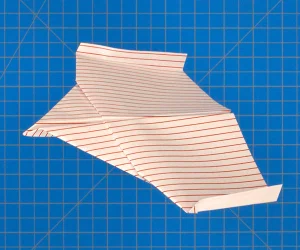
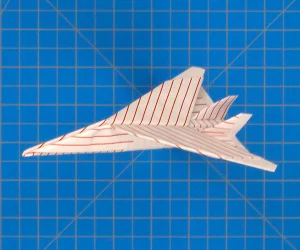
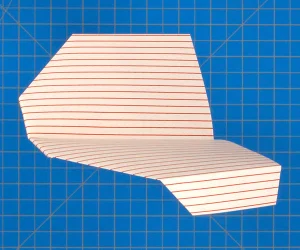
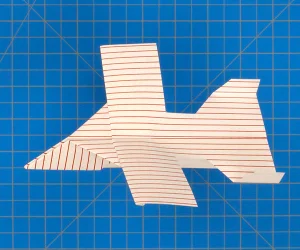
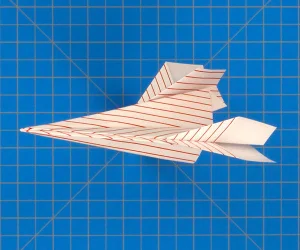
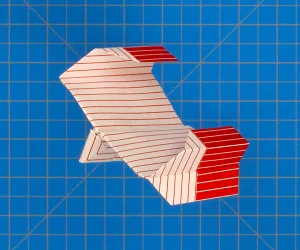
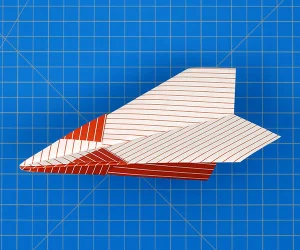
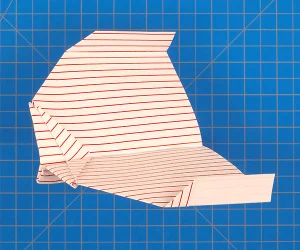
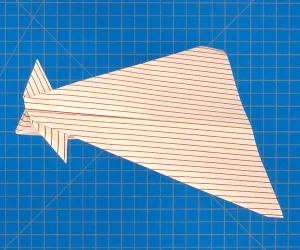
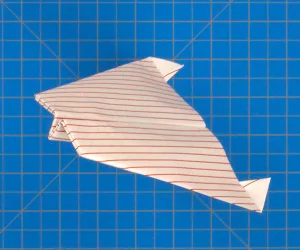
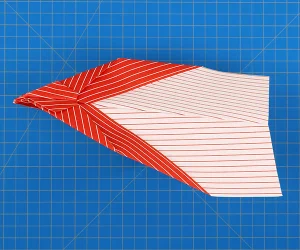
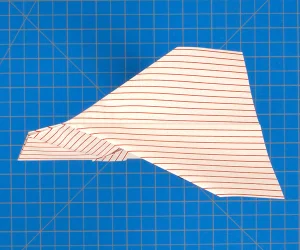
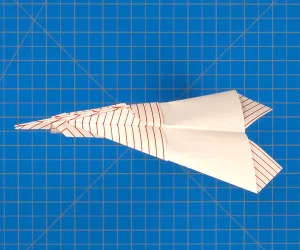
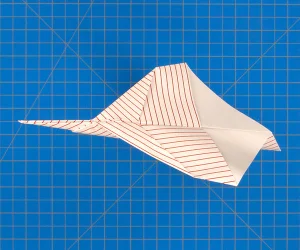
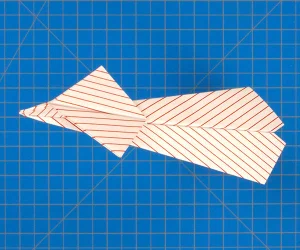
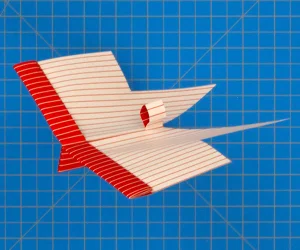
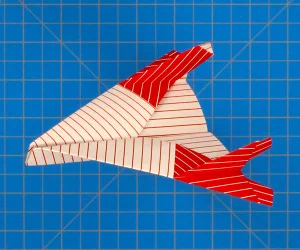
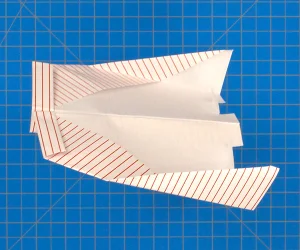
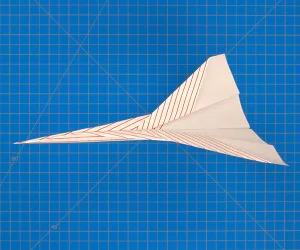
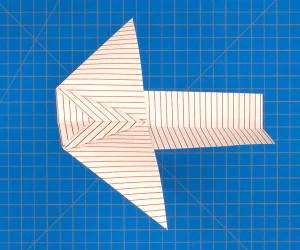
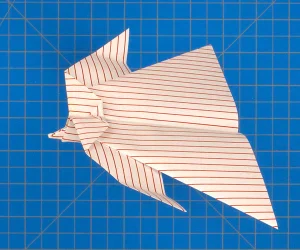
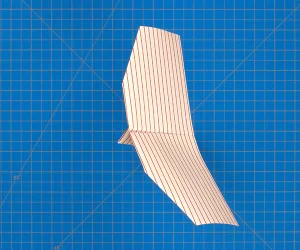
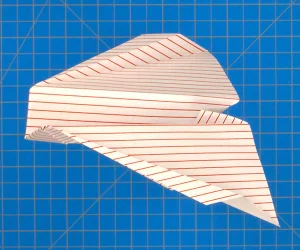
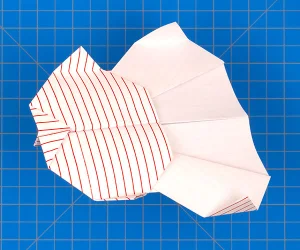
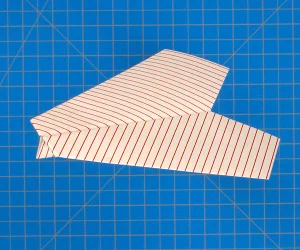
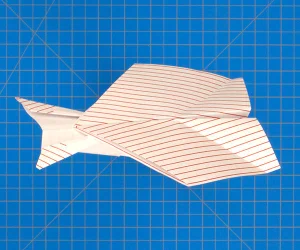
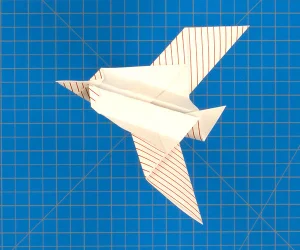
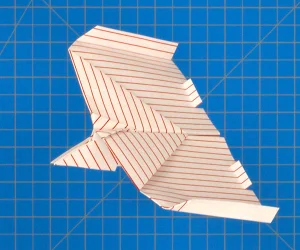
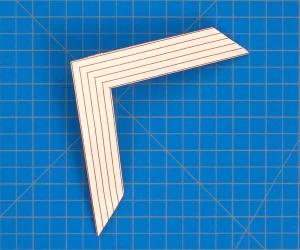
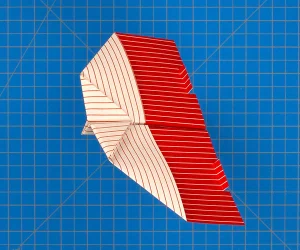
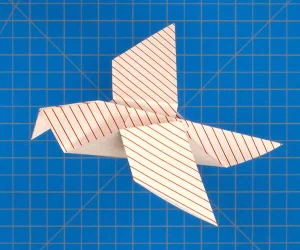
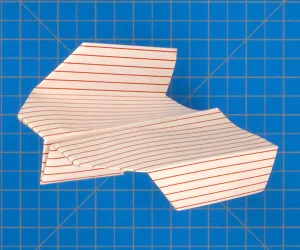
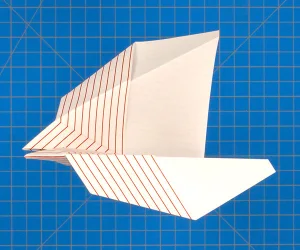
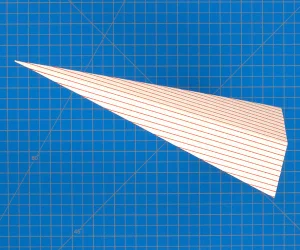
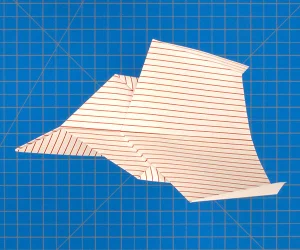
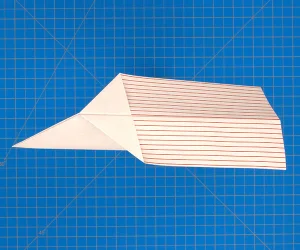
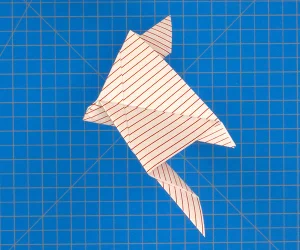
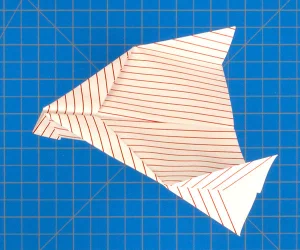
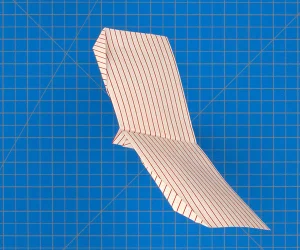
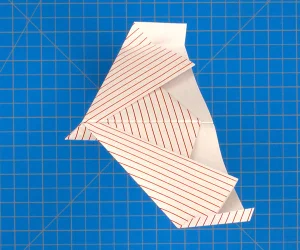
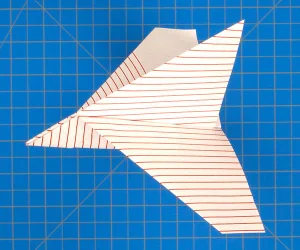
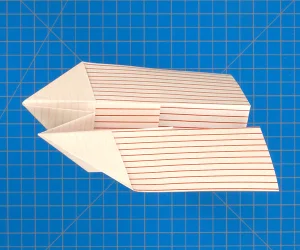
Every design comes with step-by-step folds, flight estimates, and a preview of how it should glide.
Check every crease from the side, top, and front before moving on, so wing angles and nose alignment are easy to copy.
See the estimated distance and hang time for each plane, plus a preview of its glide path, then trim your own to match.
Filter by flying goal, difficulty, and scissors, then sort by popularity, distance, or hang time.
Not sure where to start? Pick a plane based on how you want it to fly.
An iconic design with clear steps that makes a great first fold.
View folding guide → Fly fartherBuilt for fast, straight flights and experimenting with different launch angles.
View folding guide → Stay aloft longerGlides with a gentle toss, making it useful for testing wing adjustments and hang time.
View folding guide →Two planes folded from the same sheet can behave completely differently. These five details explain almost every surprise flight.
Light paper glides slowly and stays aloft; heavy paper flies fast but stalls sooner. 70–80 gsm printer paper suits most designs.
If one wing is a millimetre wider or angled differently, the plane turns. Check both wings from the front after every fold.
Too far forward and the nose dives; too far back and the plane stalls or loops. Shift the balance with trailing-edge or tail adjustments.
Distance designs prefer a firm, level throw. Gliders need a gentle release with the nose slightly up.
Indoor air is still and predictable, while outdoor wind adds lift and turbulence. Test inside first, then move outside.
From choosing paper to sharpening creases and trimming your plane, these details help create steadier flights.
Standard A4 or US Letter printer paper around 70–80 gsm works for almost every design on this site. Lighter paper folds easily and glides well indoors, while slightly heavier paper holds sharper creases in outdoor air. Avoid thick card stock: it makes dense planes that stall almost immediately.
普通的 A4 或 Letter 打印纸(约 70–80g/m²)几乎可以完成站内所有机型。较轻的纸更容易折叠,室内滑翔效果好;稍重一点的纸折痕更挺,适合在户外有风时使用。尽量不要用厚卡纸,那会让机身过重、很快就失速。
Yes. Every plane is cut into short illustrated folds, and the guides are built for 3D inspection — check each step from the side, top, and front so you can see exactly how the wings and nose line up before continuing. That makes unusual designs such as the Stealth Glider much easier to copy than a flat diagram.
有。每款纸飞机都拆成了简短的图解步骤,教程按 3D 视角组织:可以从侧面、顶部和正面检查每一步,先看清机翼和机头的位置关系再继续折。像 Stealth Glider 这类造型特别的机型,跟着 3D 视角比看平面图容易得多。
Each guide lists an estimated flight distance and hang time, and the test-flight preview shows how the finished design should glide once it leaves your hand. Fold your own version, then compare it with the preview: if it dives, veers, or stalls, adjust the wings and try again.
每个详情页都给出估算的飞行距离和滞空时间,试飞预览会展示这架飞机脱手后应有的滑翔状态。折好后对照预览检查:如果出现下坠、跑偏或失速,调整机翼再试一次即可。
In normal indoor conditions the designs in this collection travel roughly 10–26 metres (33–85 feet) with a level throw. Distance designs such as the Lift Off and Basic Dart sit at the top of that range. Wind, paper weight, and small fold errors can easily change the result by several metres.
在正常的室内环境下,站内机型以水平投掷大约能飞 10–26 米。Lift Off、Basic Dart 这类远距机型处于这个区间的上限。风力、纸张克重和细微的折叠误差,都可能让结果相差好几米。
Hang time ranges from a couple of seconds for heavy darts to roughly 10–13 seconds for well-trimmed gliders such as the Stealth Glider. Long flights come from light paper, a gentle upward launch, and a high release point — more than from throwing harder.
偏重的机型可能只有两三秒,而 Stealth Glider 这类调整得当的滑翔机可以达到 10–13 秒左右。想要长时间滞空,关键在轻薄纸张、略向上扬的轻投和更高的出手位置,而不是用力猛抛。
A plane turns because one wing is doing more work than the other. Check that both wings are the same size and angle, that the body is folded exactly in half, and that the vertical tail is straight. A tiny upward bend on the outside wing usually corrects a gentle turn.
绕圈通常是因为两侧机翼受力不一致。先检查两翼大小和角度是否相同、机身是否严格对折、垂直尾翼有没有歪。把外侧机翼的后缘轻轻向上折一点,一般就能修正轻微的偏转。
A nose-dive usually means the centre of gravity is too far forward or the trailing edges sit too low. Start with a gentler, level throw, then bend both trailing edges up by 2–3 mm to add lift. If it still dives, a small paper clip near the tail shifts the balance backwards.
栽头通常说明重心太靠前,或者机翼后缘位置偏低。先改用更轻、更平直的投掷,再把两侧后缘一起向上折 2–3 毫米来增加升力。如果仍然下坠,可以在机尾夹一个小回形针,把重心往后移。
Only some designs need scissors, usually to cut a small slit or shape the tail. Every card carries a Scissors label, and the filter rail lets you hide those models with the No scissors option, so you can start folding with just a sheet of paper.
只有部分机型需要剪刀,通常用来开一个小口或修整机尾。每张卡片上都有剪刀标识,左侧筛选栏也可以勾选“不用剪刀”,只保留徒手就能折的机型。
Both work. A4 is slightly narrower and taller than US Letter, which changes the wing proportions by a few millimetres. Fold along the paper's own edges and the plane will fly correctly either way; compare the estimated numbers instead of forcing a size.
两种都可以。A4 比 Letter 略窄略长,机翼比例会相差几毫米。只要始终对齐纸张自身的边线来折,两种尺寸都能正常飞行;与其强行换纸,不如直接参考页面上的估算数据。
Yes. Start with Easy designs such as the Basic Dart, which use straight folds and need no scissors. Medium and Hard models add squash folds and sharp creases that younger folders may need help with, and Expert designs are best treated as a shared project.
适合。建议从 Basic Dart 这类“简单”难度开始,都是直线折法,也不需要剪刀。中等和困难机型会用到压折、对齐尖角等技巧,年纪较小的孩子可能需要协助;专家难度更适合当作亲子合作项目。
Launch level and firmly instead of throwing upward, keep both wings symmetrical, and avoid heavy paper. A clean, sharp crease along the centre line matters more than brute force, and you should test small adjustments one at a time so you know which change helped.
投掷时保持水平、用力平稳,不要向上抛;同时保证两翼对称,并避免使用过厚的纸。中缝折痕干净笔直,比单纯用力更重要。每次只调整一处,再对比上一次的飞行结果。
The distance and hang-time figures are ranges, not guarantees. They assume a calm day, a level launch, and a properly trimmed plane, so treat them as a benchmark: if your plane lands well short, check symmetry, crease sharpness, and paper weight before changing the design.
这些距离和滞空数据是区间参考,不是保证值,前提是无风天气、水平出手和调整到位的飞机。可以把它们当作基准:如果你的飞机明显飞不到,先检查左右对称、折痕是否压实、纸张是否过厚,再考虑改动设计。